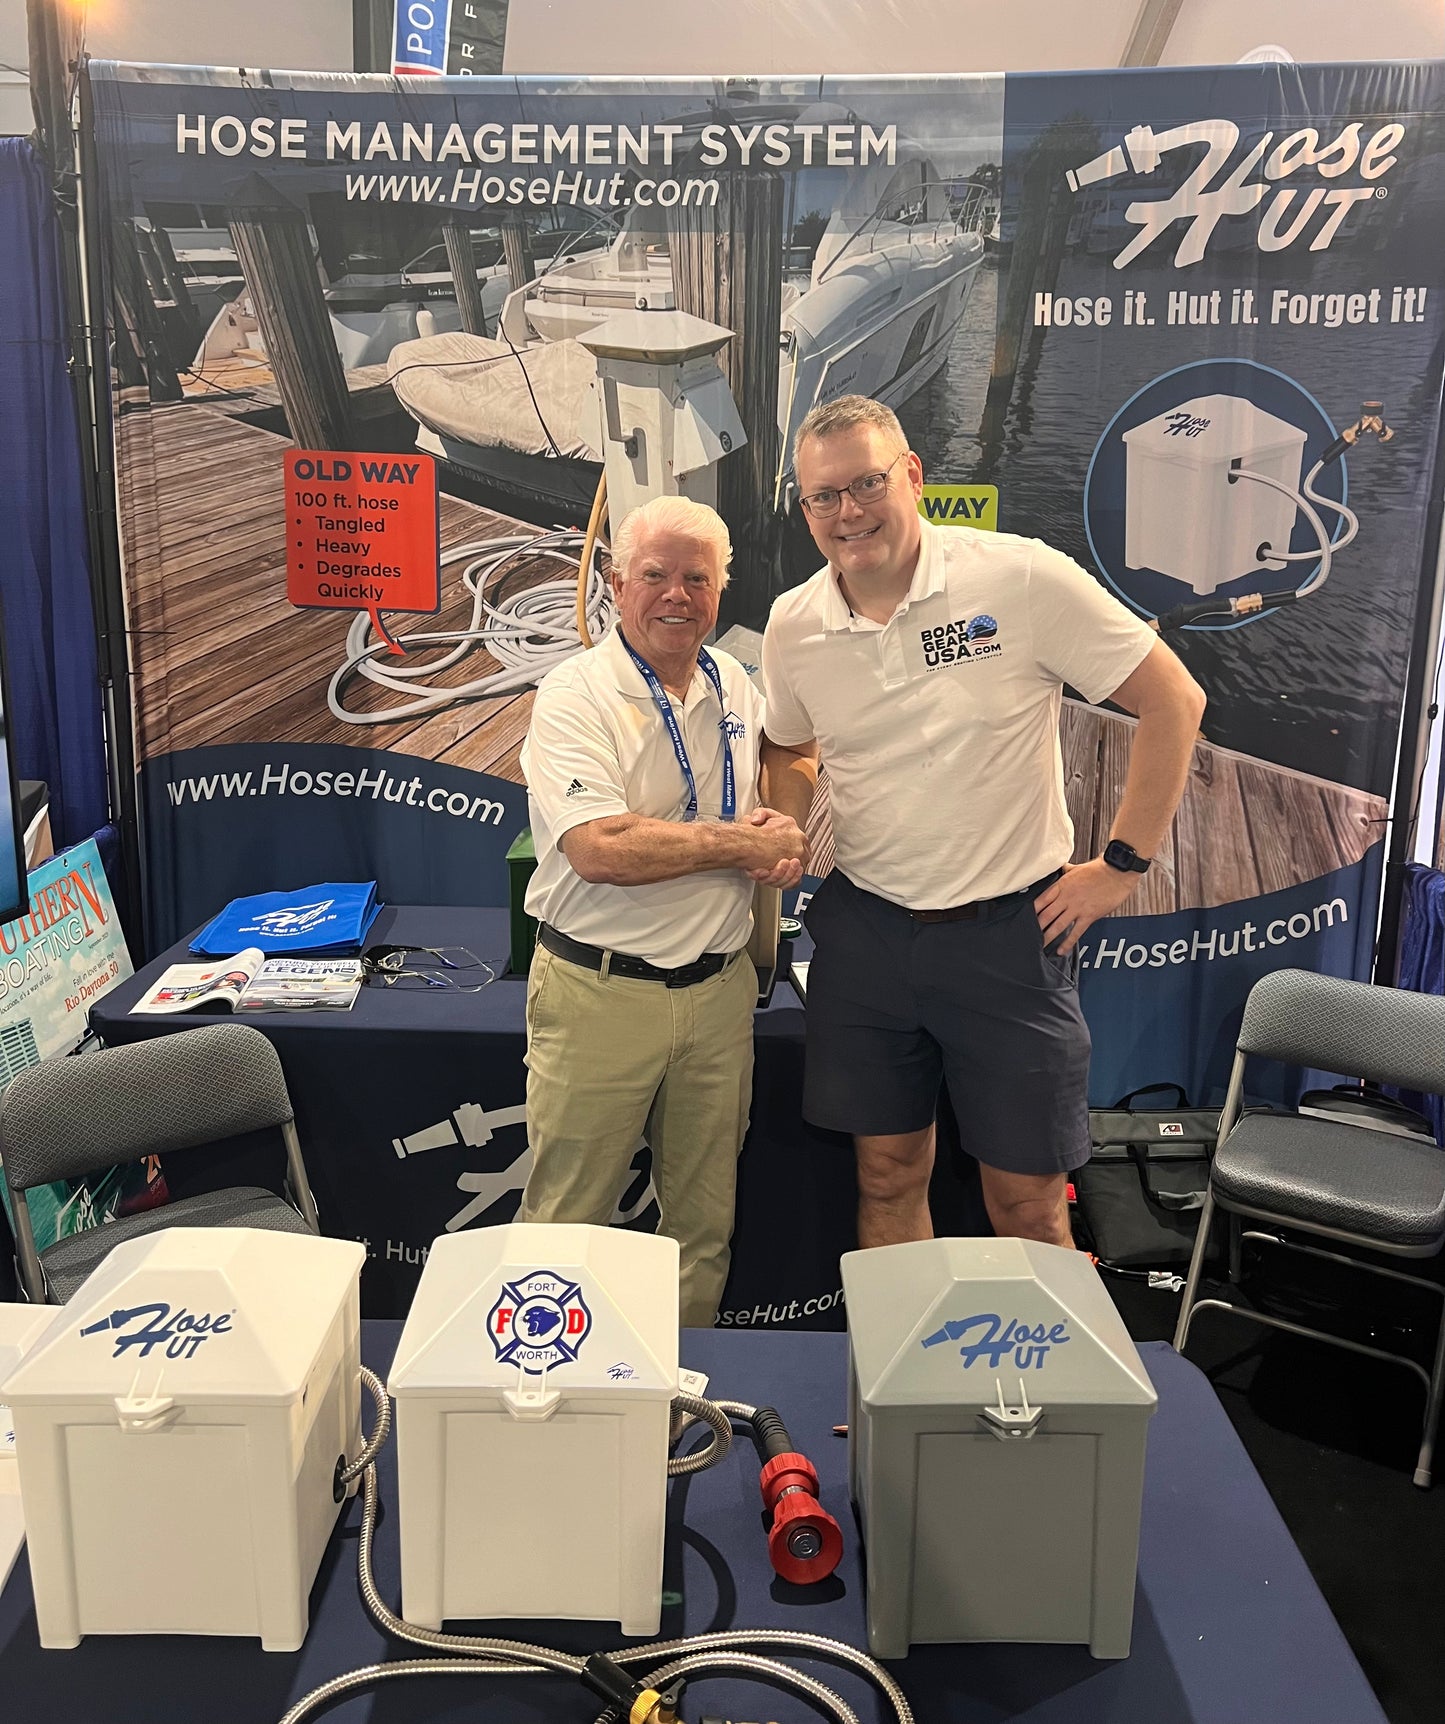
HOSE HUT MARINE SYSTEM
Here's why you should purchase the Hose Hut Marine System for your boat!
Hose Hut’s 100 ft. expandable hose is specifically designed for the unique Hose Hut System. A strengthened triple layered latex inner core, not a single 1-ply PVC, is what makes this expandable hose special, with an extra edge of durability and longevity. The internal connection of the hose to the brass hose barb is made with a metal crimp. This gives maximum protection against connection point failure. These features are designed to eliminate the “soft spots” that cause other expandable hoses to fail.
Hose Hut uses 316 Marine-Grade Stainless Steel for both the supply hose and the convenience hose. The Hose Hut components are designed to withstand harsh environmental exposures, such as sunlight and salt water. If you are looking for a high-quality product with solid brass and corrosion resistant components, look no further than Hose Hut.
The UV-resistant Hut is made with the highest grade of UV protection. Hose Hut’s sleek and compact design brings a pleasing, organized look to what is normally an unsightly mass of tangles, while providing the contents with UV protection. Hose Hut can be secured to a dock and the lid is ported for locking. These features, along with the added benefit of hose storage, equals years of product durability and security.
The Hose Hut team spent two years designing, testing, engineering, and retesting components. The result of this extensive process is a durable product that is superior to anything else on the market. Hose Hut is dedicated to being the best, highest quality hose management system on the market.
Hose Hut engaged focus groups in the marine, lawn, garden and landscape and RV industries in order to develop a user-friendly product of the highest quality. As one participant said, “Hose It. Hut It. Forget It!”
Assembly Instructions for the Hose Hut® Hose Management System
1: Confirm the following parts are present prior to assembly:
- 1x Hose Hut Container (A)
- 1x Expandable Hose (B)
- 1x 4ft. stainless steel Supply Hose (C)
- 1x 6 ft. stainless steel Convenience Hose (D)
- 1x Ergo Nozzle Sprayer (E)
- 1x brass Y-Valve (F)
- 1x brass Quick-Connector (G1) and 2x brass Adapters (G2)
- 1x Chaffing Ring (H)
2: From outside the Hose Hut Container (A), insert the male end of the 4 ft. stainless steel Supply Hose (C) through the lower supply hole (opening) of the Hose Hut Container (A).
3: Connect the male end of the 4 ft. stainless steel Supply Hose (C) to the female end of the Expandable Hose (B) and place inside the Hose Hut Container (A). DO NOT over tighten, as thread damage may occur. If there is any seepage, use a pair of pliers and GENTLY tighten until seepage stops.
4: Allowing 4-6 inches of the stainless steel Supply Hose (C) inside the Hose Hut Container (A), place the Chaffing Ring (H) around the Supply Hose (C) outside of the Hose Hut Container (A). Face the smaller side of the Chaffing Ring (H) towards the Hose Hut Container (A). Gently work the Chaffing Ring (H) (small side) inside the lower supply hole for a snug fit. This is a protective measure for the hoses, not a watertight seal. Hold the Chaffing Ring (H) in place and slide the stainless steel hose outside the Hose Hut Container (A) until 1-2 inches remain inside the Hose Hut Container (A).
5: Connect the brass Y-Valve (F) to your water supply. The best practice is to use Teflon tape over the threads before tightening. DO NOT over tighten, as thread damage may occur. If there is seepage, use a pair of pliers to GENTLY tighten the Y-connection until seepage stops. The best practice is to change the Teflon tape seasonally to keep materials from the Galvanic Effect (corrosion of two dissimilar metals).
6: Connect the female end of the 4 ft. stainless steel Supply Hose (C) to one of the Y-connections of the Y-Valve (F). The best practice is to use Teflon tape over the threads before tightening.
DO NOT over tighten, as thread damage may occur. If there is seepage, use a pair of pliers to GENTLY tighten until seepage stops. The best practice is to change the Teflon tape seasonally to keep materials protected.
7: Connect the female end of the 6 ft. stainless steel Convenience Hose (D) to the other Y-connection of the Y-Valve (F). The best practice is to use Teflon tape over the threads before tightening. DO NOT over tighten, as thread damage may occur. If there is seepage, use a pair of pliers to GENTLY tighten until seepage stops. The best practice is to change the Teflon tape seasonally to keep materials protected.
8: There is (1x) brass Quick Connector (G1) and (2x) brass Adapters (G2) in your Hose Hut System. Each brass Adapter (G2) can be attached to the male end of the 6 ft. stainless steel Convenience Hose (D) and the male end of the 100 ft. Expandable Hose (B). DO NOT over tighten these connections. These quick connections will make it easier to switch your Ergo Nozzle Sprayer (E) from the 6 ft. stainless steel Convenience Hose (D) (for small, quick projects) to your Expandable Hose (B) (for larger projects). The brass Connector (G1) can be attached to the Ergo Nozzle Sprayer (E) and allows for quick changes between the hoses.9: To change the Ergo Nozzle Sprayer (E) from the Expandable Hose (B) to the 6 ft. stainless steel Convenience Hose (D), retract the brass Connector (G1) and detach from the hose, then retract again on the brass Connector (G1) and insert on to the other hose.10: The working end of the Hose Hut System should be placed inside of the Hose Hut Container (A) while not in use. The usual manner is to put the Expandable Hose (B) (collapsed with no water pressure) in first, followed by the 6 ft. stainless steel Convenience Hose (D) on top for easy access. The hoses can be run through the top opening and pulled through the opening while the lid is closed.11: The Hose Hut Container (A) can be securely attached to surfaces by placing fasteners through the ports located in each corner of the Hose Hut Container (A).12: The Hose Hut Container (A) can be locked using the front molded latch. (Lock not provided).13: DO NOT TURN THE WATER PRESSURE ON WITH THE 100 FT. EXPANDABLE HOSE (B) INSIDE THE HOSE HUT CONTAINER (A) AS DAMAGE COULD OCCUR. Remove the Expandable Hose (B) from the Hose Hut Container (A) before turning on the water.14: When finished using the Expandable Hose (B), turn the water off and relieve the pressure by opening the Ergo Nozzle Sprayer (E) for drainage. The Expandable Hose (B) will retract, allowing for placement inside the Hose Hut Container (A).15: A set of extra O-rings (I) is included. The O-rings (I) should be replaced as they wear out.16: Storing your hoses inside the Hose Hut Container (A) will keep your hoses safe and protected from the elements for years to come.17: During freezing temperatures, disconnect all connections and drain all components. This will help protect the components from freezing and cracking.
Hose Hut - Marine System (12 PCS)
Share
Hose Hut Partnership
Boat Gear USA is proud to be an authorized dealer and installer of Hose Hut, industry leader in hose management systems.